 Posted on 24 April 2020 by Stephanie.
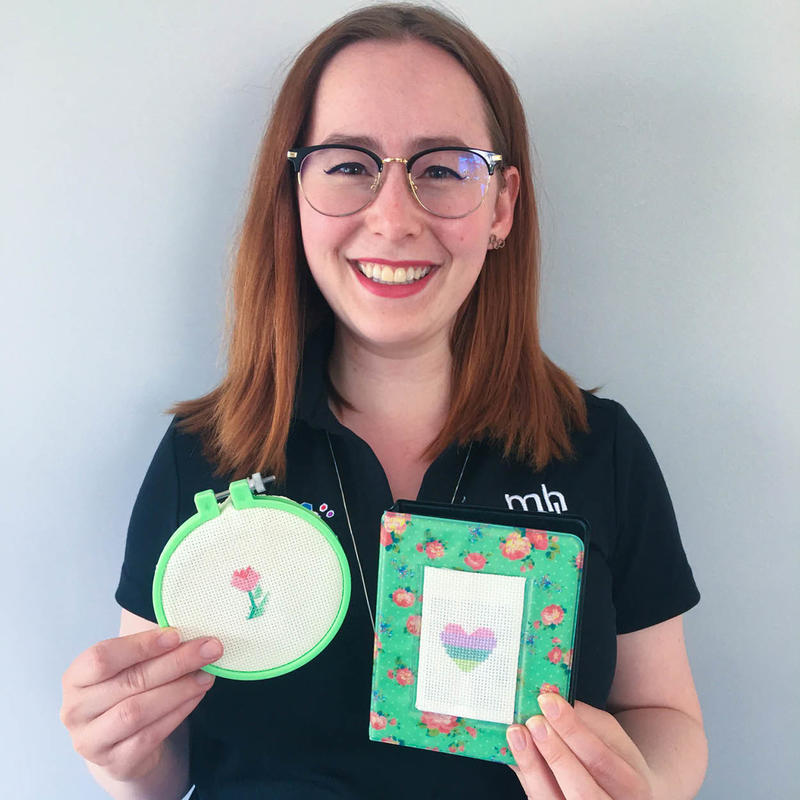
What is Cross Stitch?
Cross stitch is a type of counted stitch embroidery made of X-shaped stitches on Aida cloth (pictured below) or linen. Cross stitch projects can be bought as kits or you can buy the individual supplies to create your own design or to follow a design found in a book or magazine.

Supplies Needed
Tip: You should definitely buy all your supplies before you begin your project.
- Aida cloth
- Embroidery floss
- Round-end tapestry needle with large eye
- Embroidery hoop (optional)
- Cross stitch pattern and/or kit
- Scissors
- Tape
Reading a Cross Stitch Chart
The cross stitch grid chart is a crucial component of creating a cross stitch. It shows you everything you need to complete your project from the specific colours of thread, the type of stitch to make, the size of the project, the weave of fabric needed, and where to stitch. There may be a combination of colours and shapes to dictate which colour of the thread to use and where to stitch.

Prepare Your Fabric
Before you start stitching, you will want to prepare your fabric. When using Aida cloth, the edges can fray and become cumbersome as you stitch. To prevent this from happening, you can either tape the edges with masking tape or sew the edges by hand or with a sewing machine.

Start in the Centre
A good rule of thumb is to always start stitching from the middle of the project - this will ensure that the image you are stitching is centered and that you won’t run out of fabric. To find the center, fold your fabric in half twice into a small square. The central folded point is the center of your fabric. Then, look at your cross stitch chart and find where the central stitch is by following the lines on the grid. This is where you will make your first stitch.

Using a Hoop
This is completely optional, but using an embroidery hoop is very helpful for beginners to keep their fabric taught while stitching. Some cross stitch kits will include a hoop, but they can be purchased at your local craft store or dollar store and are often inexpensive. Plastic or wooden hoops are both acceptable, but be mindful of the size of your project when choosing what size of hoop to purchase.

Prepare Your Thread
Your embroidery floss will not come pre-cut, so will want to cut a piece approximately 18 inches (46cm) in length. Each strand contains five individual threads. Pull out one thread and fold in half. Thread through the eye of your needle, split ends first, pulling through and leaving a small tail behind. Do not make a knot in the thread.

Your First Stitch
Starting from the back of your thread, bring your needle to the front through a hole, keeping a finger on the loop end of the thread secure. Take your needle and put it in the top right hole diagonal to the hole you just came through. Do not let the loop end pull through. Put your needle through the loop end at the back and pull tight to secure your thread in a simple knot.

Making a Row of Cross Stitches
Generally, cross stitches are made from left to right starting from the bottom and going up on a diagonal. This will make a slanted half-stitch that looks like this: (/). Once you have completed a row of stitches according to your pattern, you will work right to left to create a half-stitch going in the opposite direction (\) to complete the (X) shape stitch. Keep stitching according to your pattern until you run out of floss.


Ending Your Thread
Once you have completed the set number of stitches according to your pattern or you are close to running out of floss, you will want to “end your thread” to secure it. On the back side of the fabric, pass the needle under at least three completed stitches to secure the thread. Trim the remaining thread, being careful not to cut it too close.

Tips & Tricks
You will quickly get comfortable making basic cross stitches. Here are a few additional tips to keep in mind.
- Aim for a nice easy tension on your stitches. Don’t pull them so tight that they warp the fabric or leave them so loose that they gap.
- Don’t make long jumps across the back of your fabric with the thread because they might show through on the front. When moving to a new area that is more than a few stitches away, you should end your thread and then begin it again in the new spot.
- As you stitch, the thread will tend to get twisted. Every once in a while, let your needle and thread hang freely to let it unwind.
- Some patterns may call for different types of stitches such as a back-stitch, half-stitch, or french knot. Don’t feel obligated to attempt these more complex stitches to complete your project.
- Have fun! Cross stitch is a relaxing and rewarding craft. Don’t stress too much about the details and enjoy the process!
Now Watch a Tutorial!
If you feel like you need further instruction, or if you just want to hear a familiar voice, Stephanie has created a two-part Learn to Cross Stitch video for you to follow along with! Both parts can be found on our YouTube page: Part 1 & Part 2.
Images from: https://stitchedmodern.com/blogs/news/a-beginners-guide-to-cross-stitch#
Free beginner designs: https://www.thesprucecrafts.com/simple-cross-stitch-for-beginners-4122024