 Posted on 14 May 2020 by Leanne.
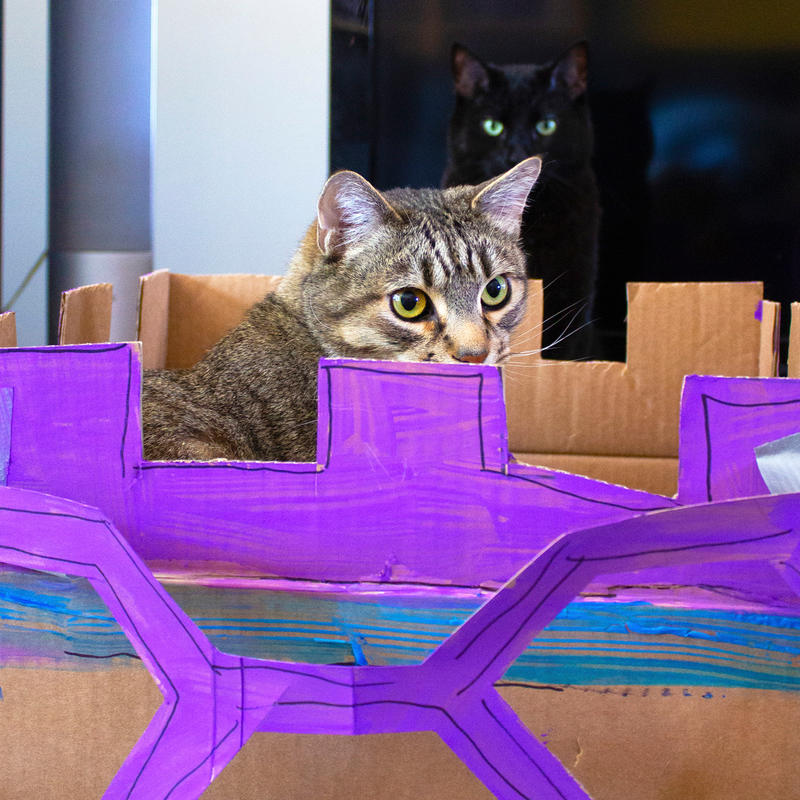
Do you have a cat (or a dog, or another kind of pet)? Do you have cardboard boxes lying around? Do you have some extra time on your hands?
There’s a fun way to spend your time while also providing a new playhouse or home for your furry friend: build a cardboard castle, dog house… you get the idea.
This craft is perfect for cats. My tips and tricks below will mostly mention our furry feline friends, but you can adapt this for your dog or other companion animal. It’s a cheap and easy DIY project that’s great to do by yourself or with the whole family.
.png)
Show us your creations for a chance to win...
We’re having a contest! Try this out and tag us in the pictures of your creation(s) by May 31. You’ll be entered in a draw for a $20 gift card from Pet Valu so you can buy your furry friend(s) some treats! More details will be at the end of this post.
There is also a link to a video of me making my own castle for my cats at the end of this tutorial.
Supplies + preparation
These are the basic supplies you will need:
- Cardboard boxes
- Box cutter/utility knife, scissors
- Pen (Sharpie markers work really well)
- Non-toxic paint
- Glue
- Duct tape
Before starting on your castle, you’ll need to consider a few things.
First of all, you need to think about the size of your cat. This will help you decide how big to make the holes, how much to enforce them, and how big the castle should be. If you have a large or heavy cat, consider doubling up the cardboard in the weight bearing areas. With my castle, I took my three large, male cats into consideration. I doubled up on the cardboard and used duct tape to reinforce all the seams, since it’s sturdier than glue.

You also really need to consider what you can add to the castle that is safe for your animal. This is fun to build, but your cat/dog will be spending the most time with it. Don’t add anything they can swallow, like beads. Make sure all the materials are non-toxic. Especially paint. You want to use a non-toxic, water soluble craft paint. Ceramic or artist paints can contain chemicals that will make your pet feel sick if they ingest or inhale it.
Also, make it comfy! Set aside a few pillows and blankets to make the inside “puuuurfect”
Here are some other supplies you can gather to add fun details. You don’t “need” these, but they add cool extra features.
- Tissue boxes and other small boxes
- Toilet paper tubes
- Cereal boxes
- Sisal rope
- Wrapping paper (You can use this instead of paint - quicker than waiting for it to dry!)
- Felt
- CATNIP!
Constructing the castle
Now that you’ve done some brainstorming and have the right materials, it’s time to construct your new home for your pet!
Use a pen or marker to draw where you’d like the doors and windows to go. These can be in any shape you like. If you want to make it look like a medieval castle, make it an arch shape like in the picture below. If you want it to look like a traditional home, use square shapes.
.png)
The door needs to be large enough for your cat to get in and out of. You can add a door on both boxes so your cat has more than one way to get out. If you have multiple cats, it’s a good idea to have at least 2 exits on the castle. That way, if they decide to get a bit territorial about their awesome new house, one cat can escape out the other door instead of being trapped inside by a kitty that wants to hog the space!
.png)
Once you’ve drawn your doors and windows, you want to use your box cutter/utility knife to cut the shapes out. This can be the trickiest part. You’ll see in my video that I didn’t do a very good job of it… haha.
.png)
If you’re cutting curves, it’s easier to move the cardboard as you go. Use gentle pressure with the blade and make several passes. This means that you go over the line multiple times. It will make a cleaner and easier line that if you try to cut through the material in one go. It’s also way safer.
Once you’re done cutting out your windows and doors, it’s time to re-assemble your boxes and make them into a castle!
.png)
You’ll need to glue or tape your flaps together for extra support. I chose to tape my boxes, on both sides, because my cats are large. If you do use tape, remember to make sure that there are no lifted edges. Some animals like to chew and scent lifted tape, which may make them feel sick.
.png)
Now it’s time to make a hole that will let your cat go between the first and second floor.
.png)
You can choose a corner of one half of the roof on the bottom box and cut that out. Then, do the same thing to the same side of your top box. The holes need to match!
I tried to cut a hole off to the side of both boxes. It worked well enough, but next time I make a castle, I will try going in from the corner like in the diagram above.
Then it’s time to stack your castle!
.png)
Place glue on the top and bottom edges of your castle, or use tape. Again, I used duct tape because of the size of my cats. I felt like it was more sturdy. Make sure that your “pass through” hole on the top and bottom floors line up!
Decorating
Now it’s time to make your creation look even cooler!
.png)
If you have another cardboard box lying around, and you’re going for the medieval castle look, you can cut this box into pieces. You can draw the “castle roof” pattern and cut that out. Then, you can glue or tape it to the top box.
.png)
This is just one example of all the ways your imagination can go wild! You can paint designs on the new home, use wrapping paper, add decorations - the possibilities are endless. I like the idea of adding some favorite toys to the structure.
There are so many things to create. You can make a condo, a truck, a bus, a mansion - anything!
.png)
.png)
Enter the contest!
We want to see the creative things our community comes up with. Build a cardboard creation for your pet and tag us in your pictures! Especially if your furry friend is in it. We love pets!
You have two weeks to get your entry in. Please tag us in your pictures on Facebook, Instagram, or Twitter by May 31.
Everyone who participates will be entered into a draw for a $20 gift card from Pet Valu.
Inspiration
I’ll leave you with some awesome ideas. I found these on Pinterest, which is a great website to find images that get your creative juices flowing.
And if you’re more of a visual learner, here’s a video of me creating a cat castle for my boys, Cocoa, Donatello & Dunlop: https://youtu.be/2inwJwzpFZg.
.png)
.png)
.png)
.png)
.png)
.png)
.png)
.png)
Sources
https://www.thehonestkitchen.com/blog/diy-10-steps...
https://programminglibrarian.org/sites/default/fil...
https://www.charlestoncrafted.com/build-diy-cardbo...
https://www.marthastewart.com/921522/how-make-card...